
Fix your home desk in this order
Most home desks fail at the chair, screen height and keyboard position. Here is the order to fix them in, with checks that cost nothing.
Margaux Dupont4 min read

Four hours into a working day at the kitchen table, your neck knows. Home desks usually fail in the same three places, and the order you fix them in matters more than what you buy.
Why the order matters
A better keyboard will not fix a chair that is too low. A monitor stand will not fix a seat that is too high. Work from the floor up: feet, chair, desk, screen, keyboard.
Official workplace safety bodies publish general computer workstation advice: neutral posture, screen position and keeping things within easy reach. It is aimed at employers, but the checks work at home. If your company has a home-office assessment, ask for it.
Step 1: feet and chair
Sit back in the chair with your feet flat on the floor. Your thighs should be roughly level and your knees about as high as your hips. If your feet dangle, use a box or a footrest. If your knees are above your hips, raise the chair.
A kitchen chair is the usual culprit. If you cannot adjust it, a firm cushion or a footrest may be enough for now.

Step 2: desk height
Your elbows should rest near the desk without lifting your shoulders. If the desk is too high and you cannot lower it, raise the chair and use a footrest. If it is too low, small risers under the legs can help, only if they are stable.
Step 3: screen height
The top of the screen should sit at about eye level, with the screen an arm's length away. A laptop on a table puts the screen too low and the neck pays. A stack of books under the laptop is a legitimate fix. A separate keyboard and mouse then become necessary, because the laptop keyboard is now too high.

If you are choosing between fixes, our comparison of a laptop stand and a monitor arm covers the screen step.
Step 4: keyboard and mouse
Elbows bent at about 90 degrees, wrists straight, keyboard close enough that you do not reach. A mouse that sits next to the keyboard, not far across the desk, keeps your shoulder out of it.
What coworkers in remote jobs usually end up with
Across remote jobs, a pattern tends to show. People start with a laptop at the table, then add a separate keyboard and mouse, then a laptop stand or screen at eye level, then a better chair. The chair comes last because it is the most expensive and often the least necessary once the other things are right.
If a chair is the thing that needs replacing, see office chair vs gaming chair.
When gear is worth buying
| Item | Why it matters | What fails first |
|---|---|---|
| Separate keyboard and mouse | Lets you raise the screen | Switches or cable, depending on the model |
| Laptop stand or monitor arm | Fixes screen height | Joint tension on cheap arms |
| Footrest | Fixes dangling feet | Nothing much; it just goes unused |
| Task chair | Adjustable support for long sessions | Armrest padding, gas lift |
If your pain is more than tired, such as numbness or pain that wakes you at night, talk to a clinician. A chair will not diagnose that.
Step 5: breaks
No setup survives eight hours of not moving. Stand up when you can. Put a glass of water at the far end of the room. Your body copes better with a decent desk and frequent changes than with a perfect desk and none.
A small plan for the first week
Do not change everything in one go. Spend day one on the chair and feet, day two on the screen height, day three on the keyboard. Write down how your neck and shoulders feel at the end of each day, in one line. By Friday you will know which fix did the most, and that tells you where any money should go.
End of shift
- First to wear out: laptop-stand rubber feet and chair armrests.
- Check on Friday: whether you are still hunching at 3 pm. If so, go back to step 3.
- Not worth it: gear that fixes a problem you do not have yet.
More to read
Keep reading

Do you need a footrest at your desk? A quick test
Do you need a footrest at your desk? Yes if your feet do not rest flat on the floor. A quick test and a free fix using a box or a stack of books.
Margaux Dupont3 min read
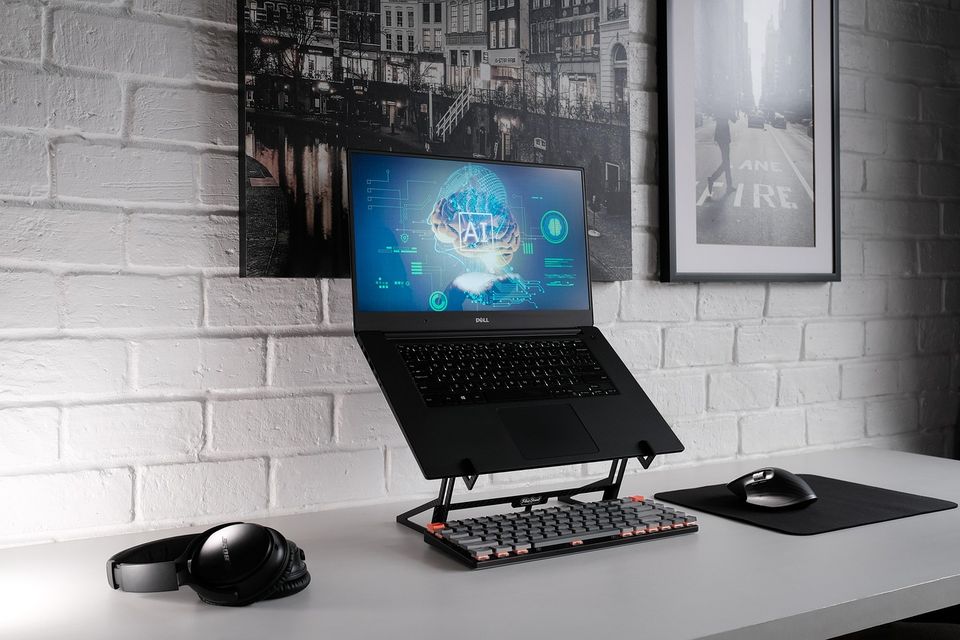
Laptop stand vs monitor arm: which fixes your screen height
Laptop stand vs monitor arm: both raise your screen to eye level, but they suit different desks. Here is how to pick without buying twice.
Margaux Dupont4 min read
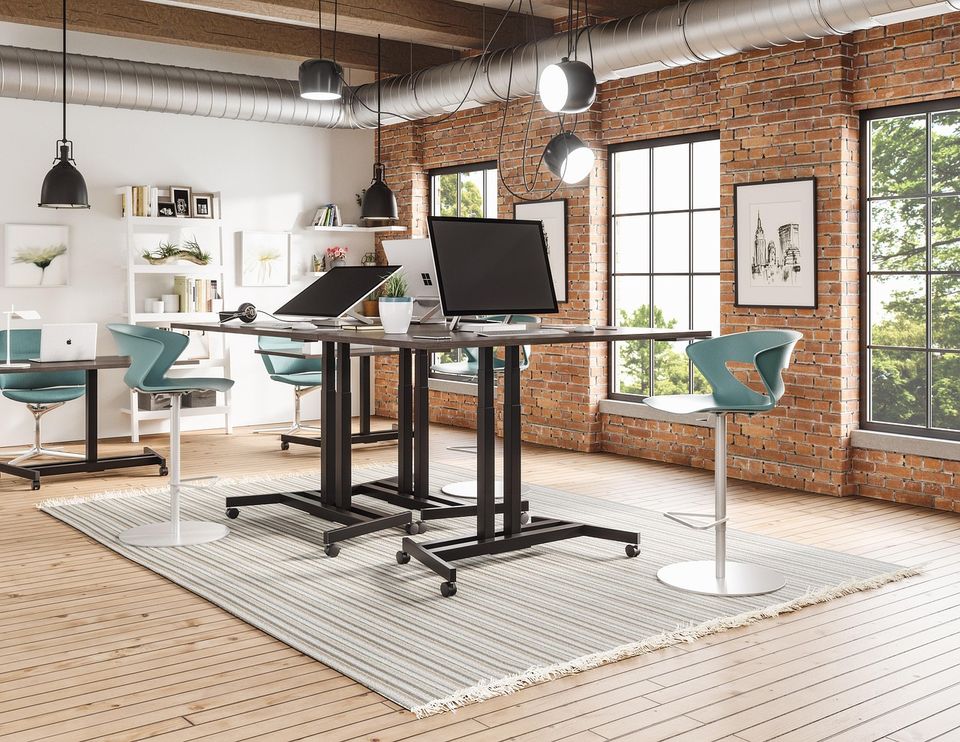
Office chair vs gaming chair for working from home
Office chair vs gaming chair for working from home: adjustability matters more than looks. Here is how to choose for an eight-hour day at a desk.
Margaux Dupont4 min read

How high should your monitor be? A quick check
How high should your monitor be? The top of the screen should sit at or just below eye level, about an arm's length away. Here is a quick check.
Margaux Dupont2 min read
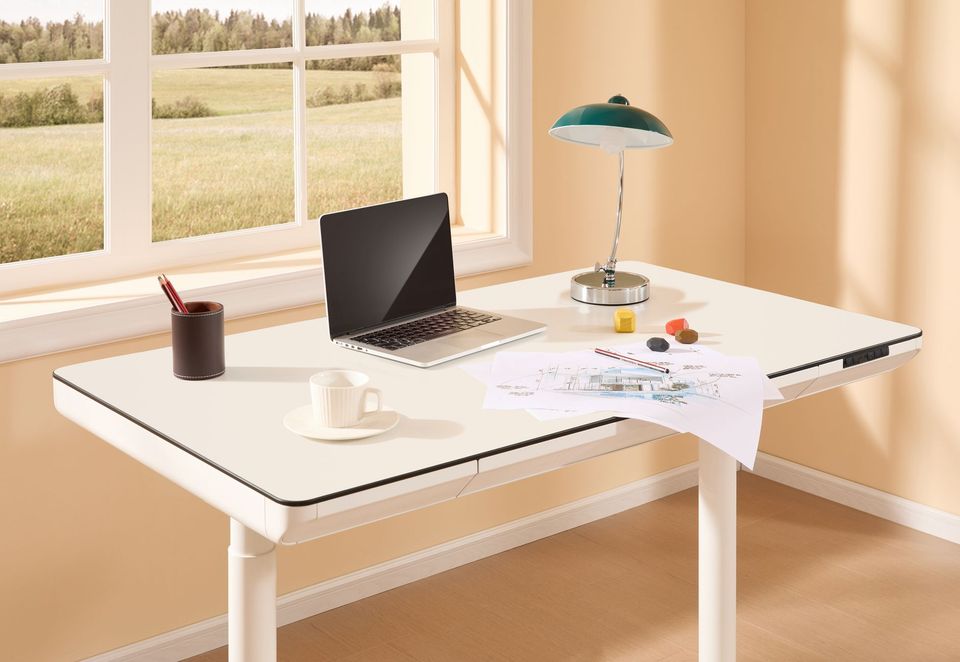
Is a standing desk worth it for working from home
Is a standing desk worth it? It helps if you will actually switch between sitting and standing. Here is a plain way to decide, and what to try for free first.
Samir Ouali5 min read
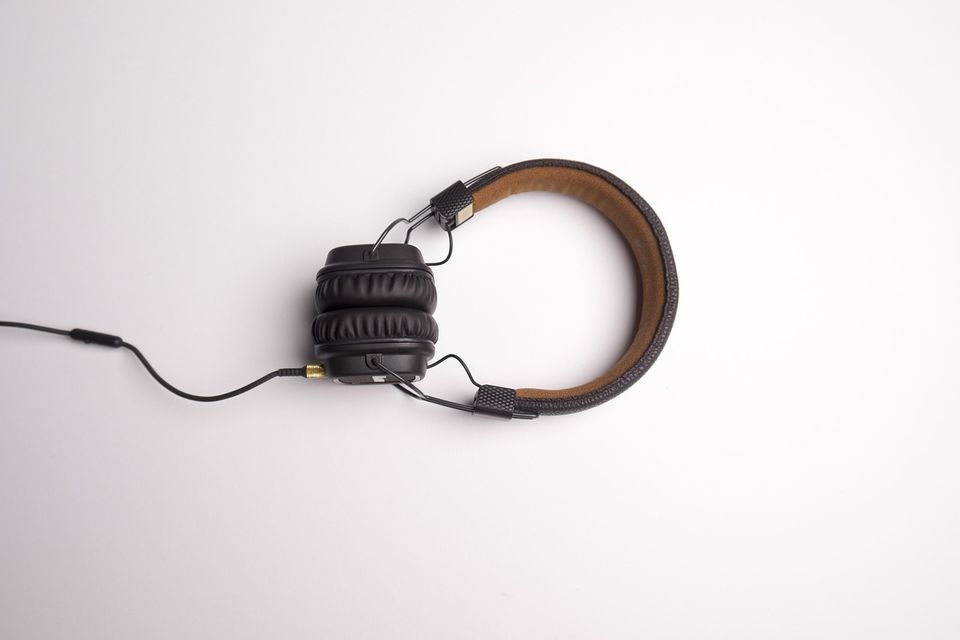
Noise cancelling headphones vs earbuds for a home office
Noise cancelling headphones vs earbuds for a home office: comfort over eight hours, mic quality and who is in the house decide it. Here is how to pick.
Margaux Dupont4 min read